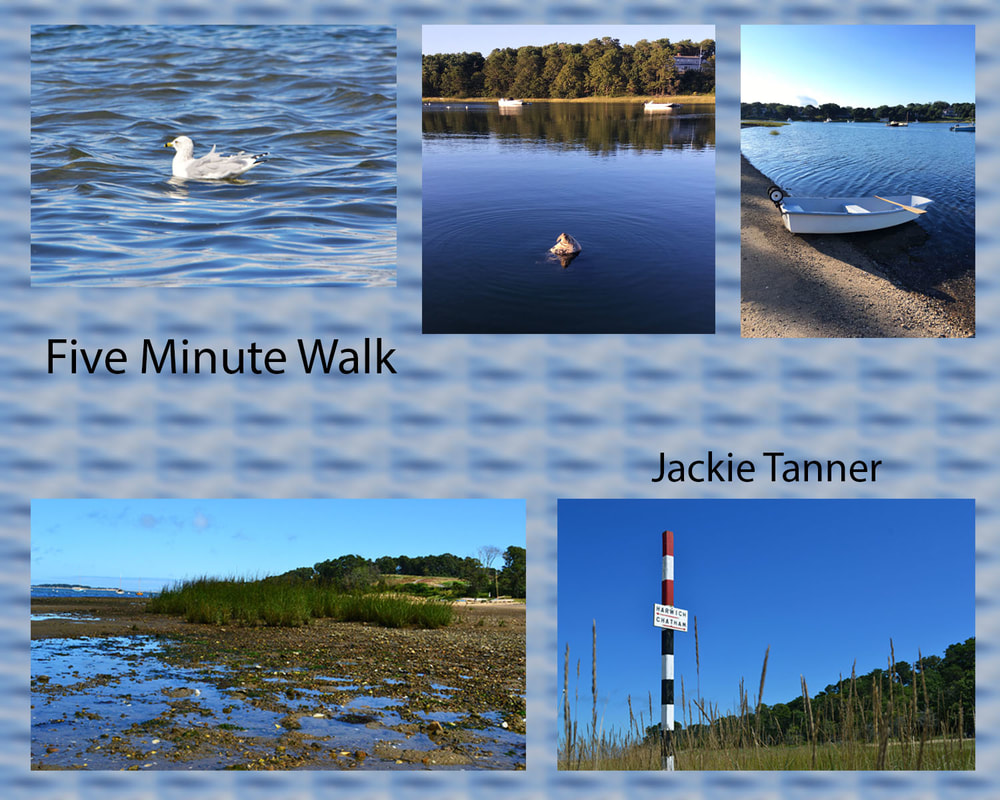
The fist major project I did was the five minute walk. I went to Jackknife Cove on the border of Chatham and Harwich Massachusetts to take pictures. I cropped the pictures and put them into one photoshop document. I took a section of the water from the picture of the seagull and filled the background with it. I then used the gaussian blur to make the pictures in the foreground pop.
Faces In Places
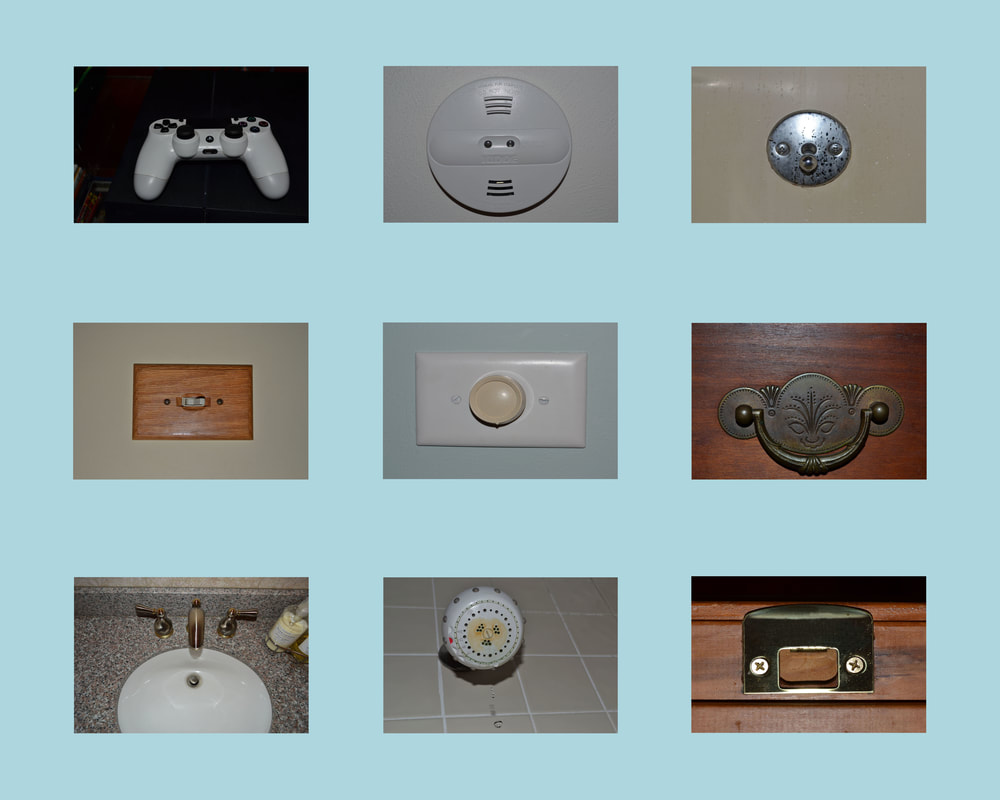
For this project I took pictures around my house of man made objects that look like a face. I put all the pictures into photoshop and arranged them into a grid pattern.
Panograph
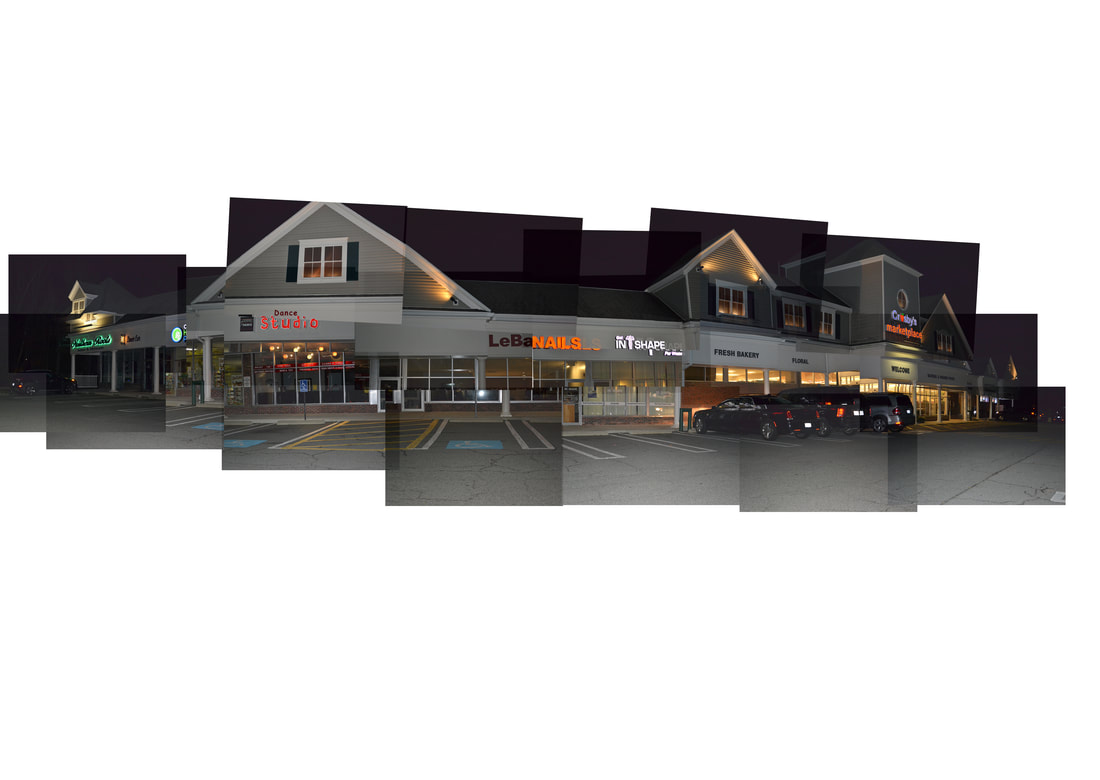
For this project I took multiple pictures of Crosby's Marketplace in Georgetown. I resized each picture to 800 pixels by 533 pixels. I then turned down the opacity of each picture to 90%. I put them all together to make one picture.
Gallery
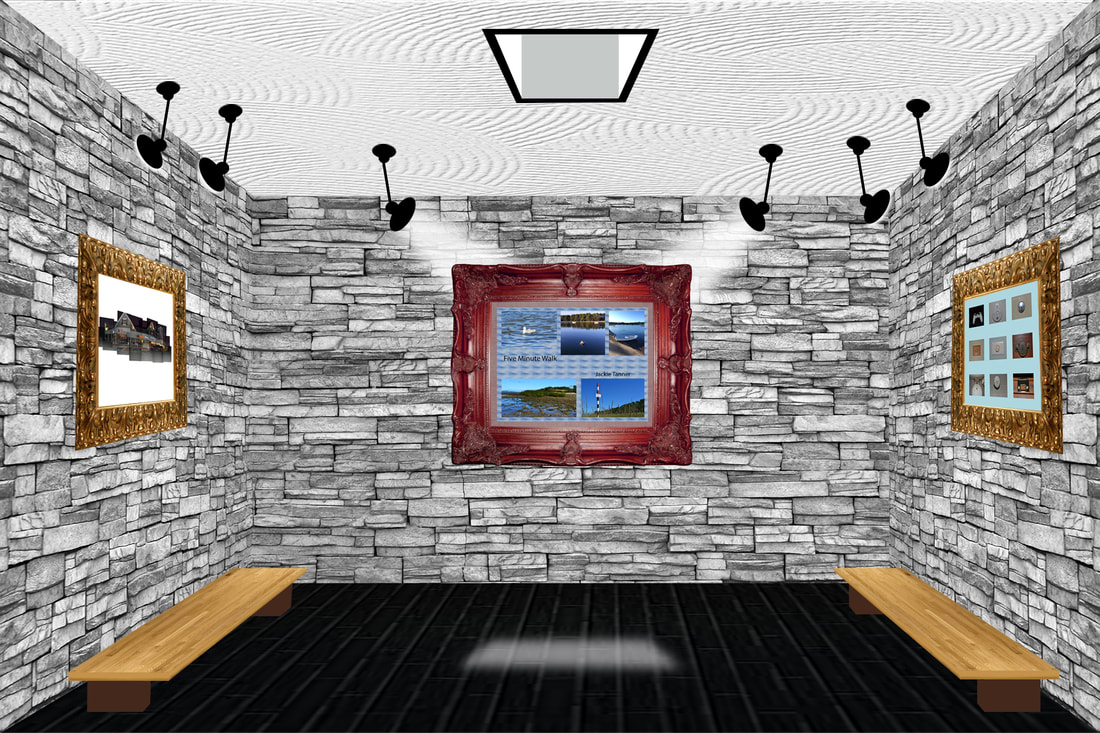
For this project I created a room in photoshop. The first thing I did was the ceiling. I found a picture of a ceiling on google and used the distort tool to make it appear three dimensional. I did the same for the walls and floor.
Next I made the skylight by taking the rectangle tool and filling it with black. I then used the distort tool to make it line up with the ceiling. Next I made a white rectangle and used the distort tool to line it up with the black square , but I made it smaller than the black one. I then made a grey rectangle in the white.
The second thing I made was the frames. I found pictures of frames on the internet and used the distort tool to line it up with the walls. I put the three other major projects in using the distort tool to line it up with frames.
Next I made the lights and the glow from the lights. To make the lights I made a circle with the circle tool and filled it with black. I then used the distort tool to make the circle look flush with the ceiling. I then made a second circle and again filled it with black. I placed the second circle on top of the first circle. Then I made a rectangle and filled it with black. I turned the rectangle and lined it up with the base of the light. I then made a third circle and filled it with black. The last thing I did was make a forth circle and I turned it to appear three dimensional. For the glow I used the polygonal lasso tool to make a triangle coming from the light. I filled it with white and turned down the opacity. I then used the gaussian blur tool to blur the glow. For the other lights I copied the first light and adjusted them.
The last thing I made was the bench. I first found a picture of hardwood floor for the top of the bench. I used the distort tool to make the bench appear flat in the room. I then used the rectangle tool to make a rectangle and filled it with a light brown color. Next I used the polygonal lasso tool to create the siding on the side of the bench. I filled it with the same color. I then used the burn tool to make the siding appear three dimensional. To make the legs of the bench I made a rectangle and filled it with a dark brown. I made a second rectangle and filled it with the same color. I then distorted the second rectangle to make it appear three dimensional. I did the same thing for the back leg. I then copied the bench for the second bench and rotated it on the horizontal.
Quater 2
Picture in a Picture
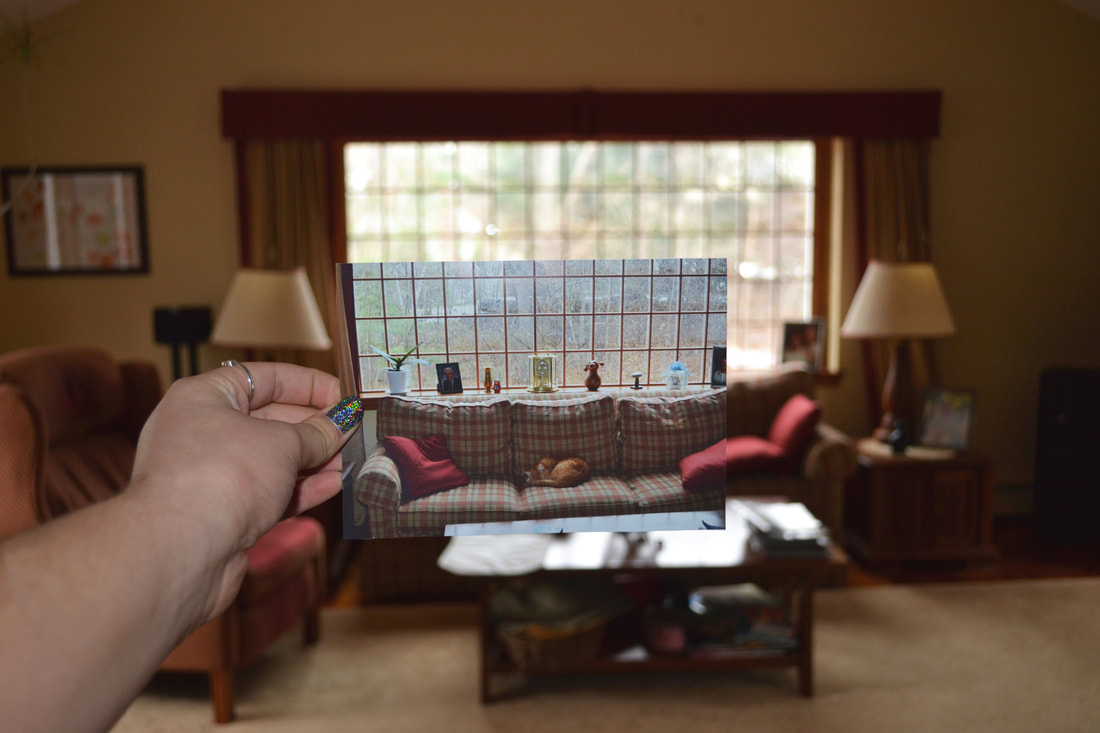
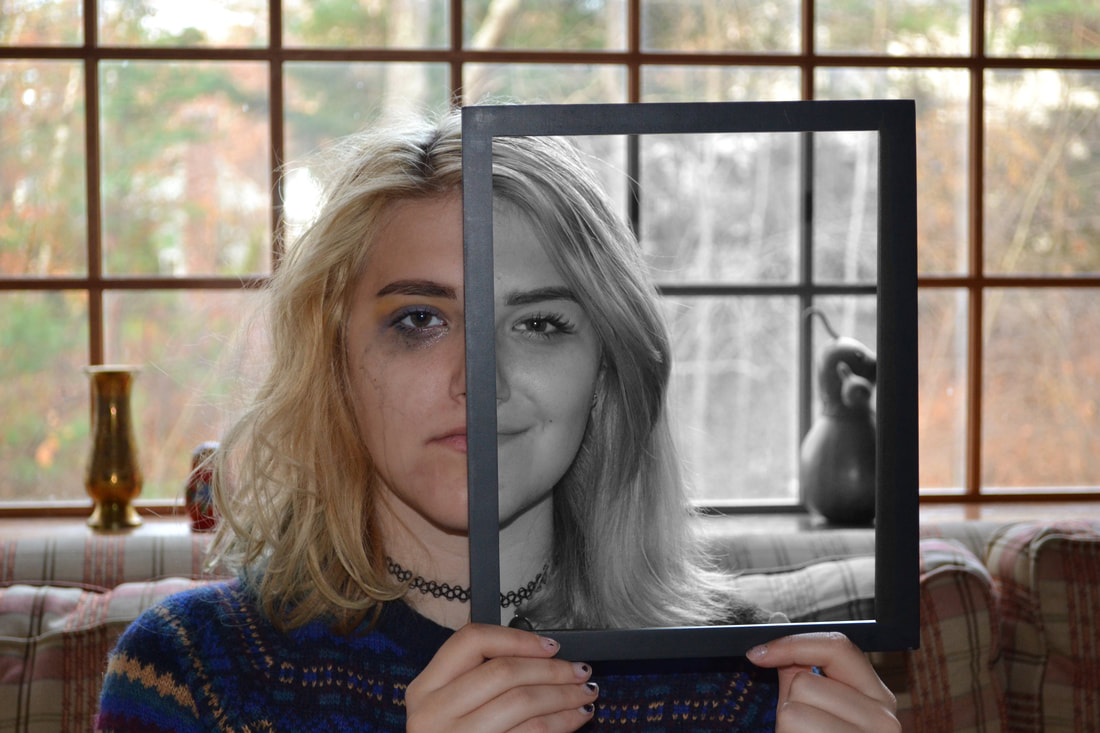
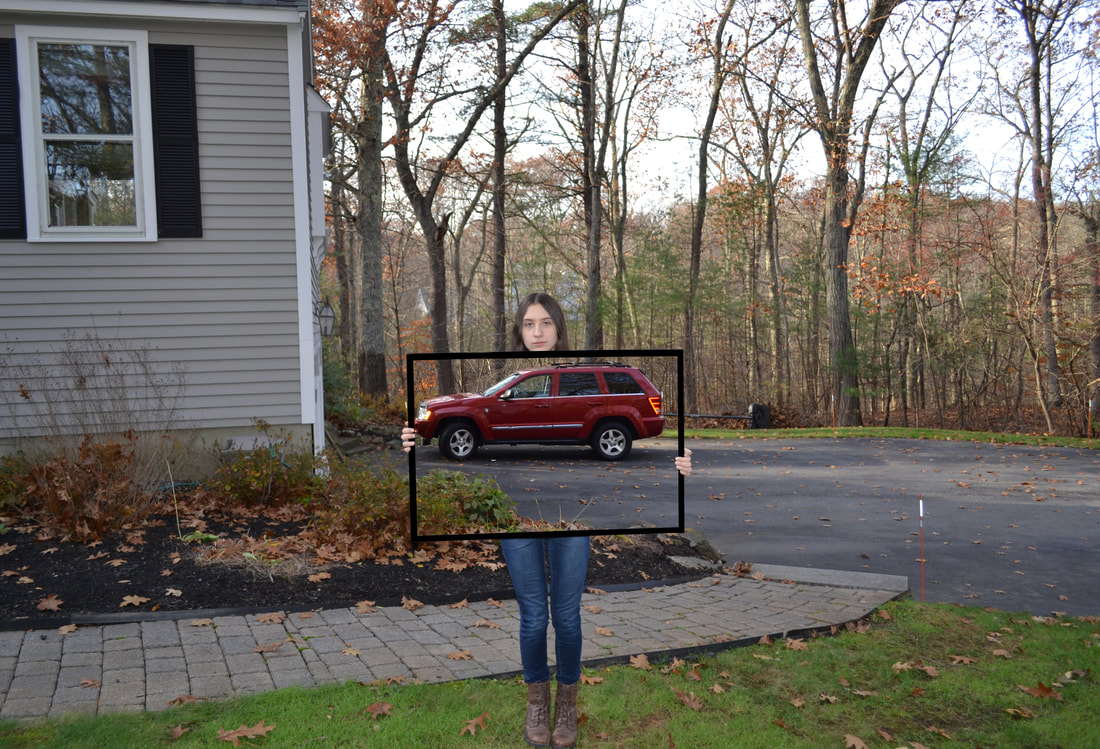
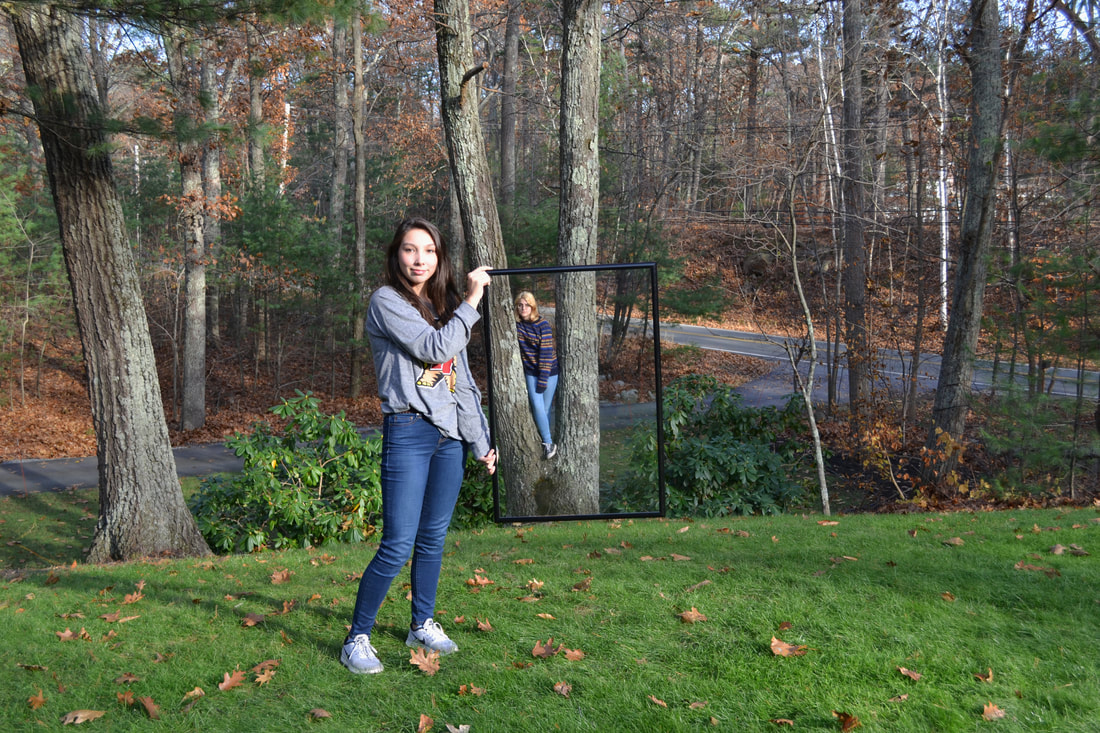
This project has three different parts. The first part is a printed picture that is being held up and is lined up to match the background. The second part of this project is holding up a frame and photoshopping what is inside the frame. The third part of the project is holding up a frame, but what is in the frame does not look like it was photoshopped or changed in any way.
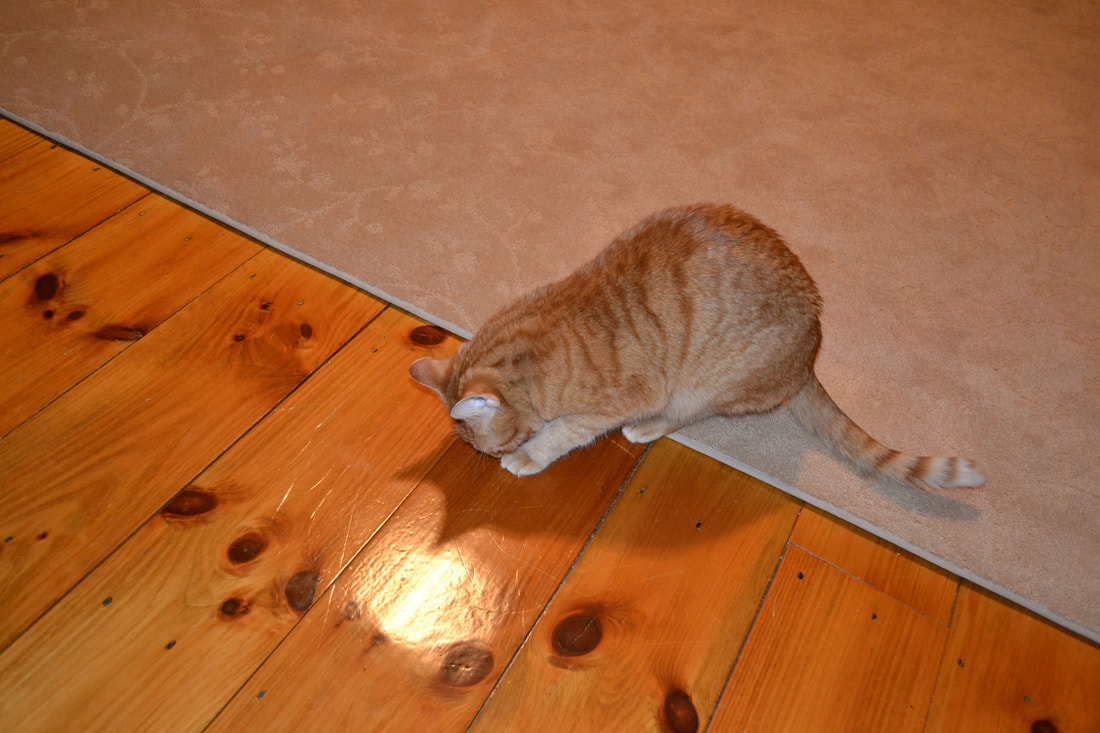
Big Things in a Small World
Before
|

|
After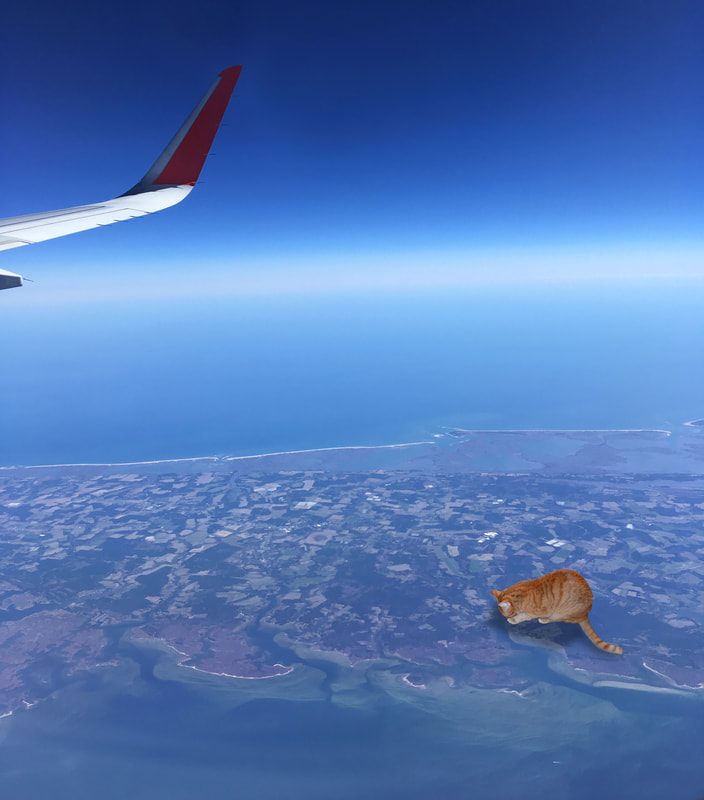
|
