Quater 1
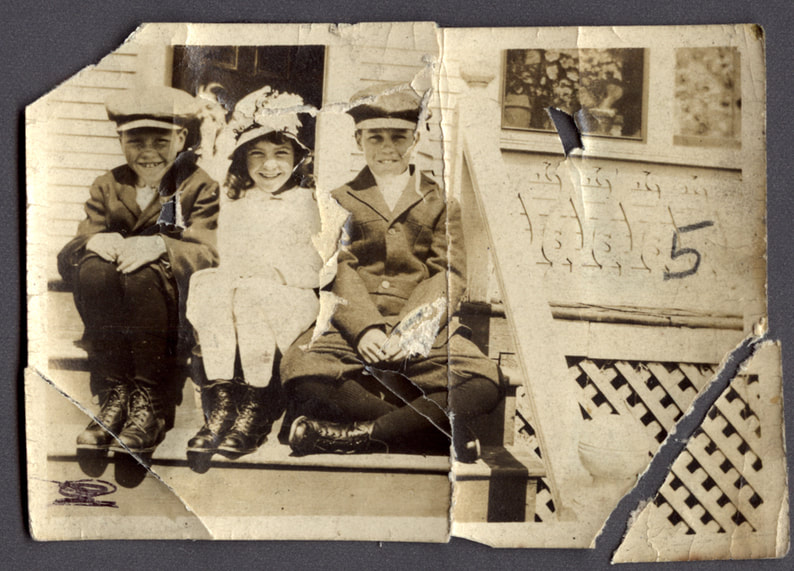
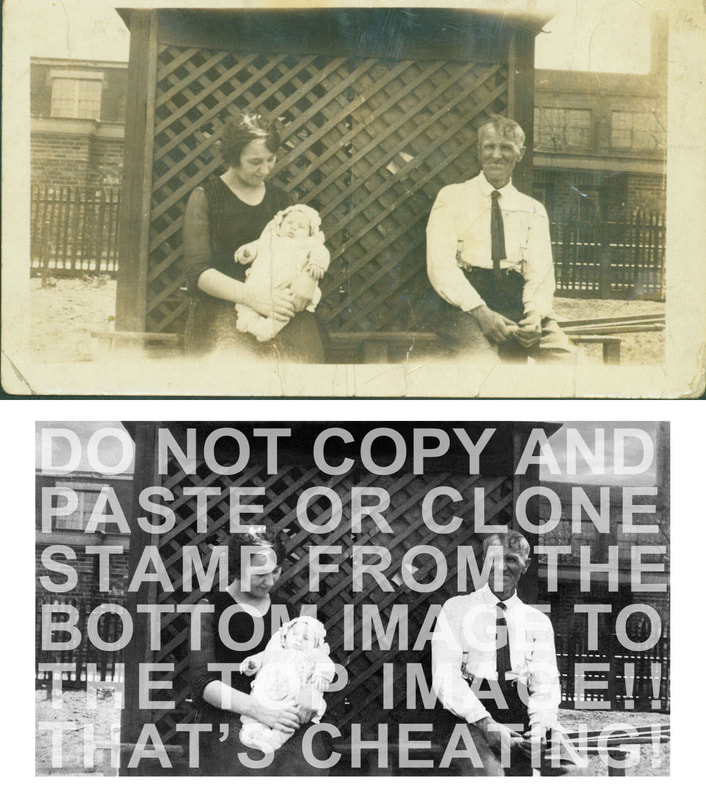
Before
After
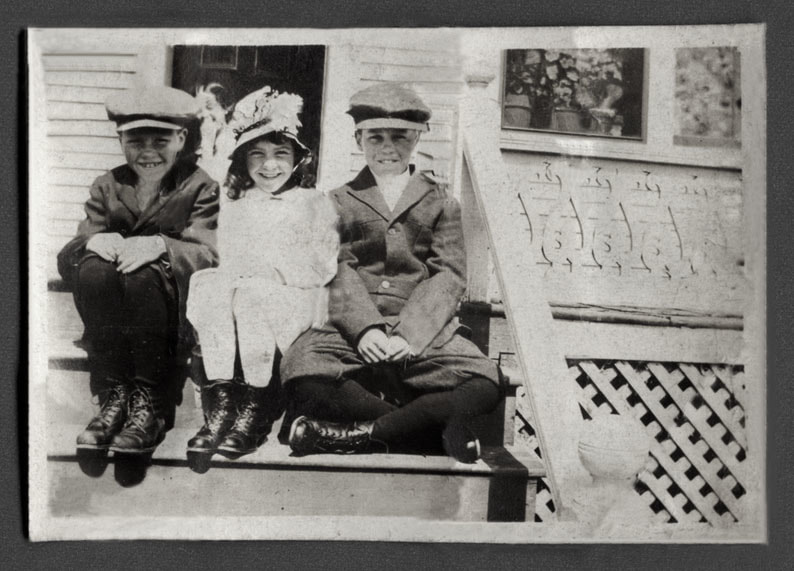
This is the first minor project I did which is to restore an old photograph in photoshop. To do this I used the clone stamp tool, the magnetic lasso tool, the contrast tool, and the saturation tool. I fixed the torn edges, pen marks, and the yellow coloring.
Before
|
|
After
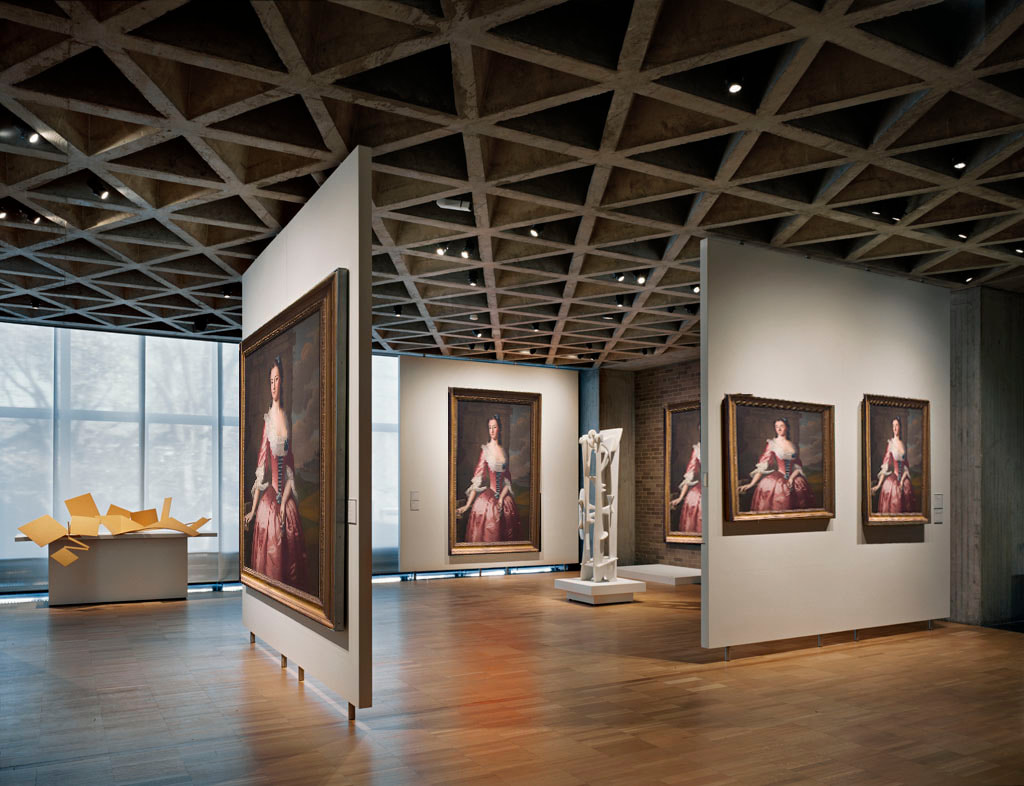
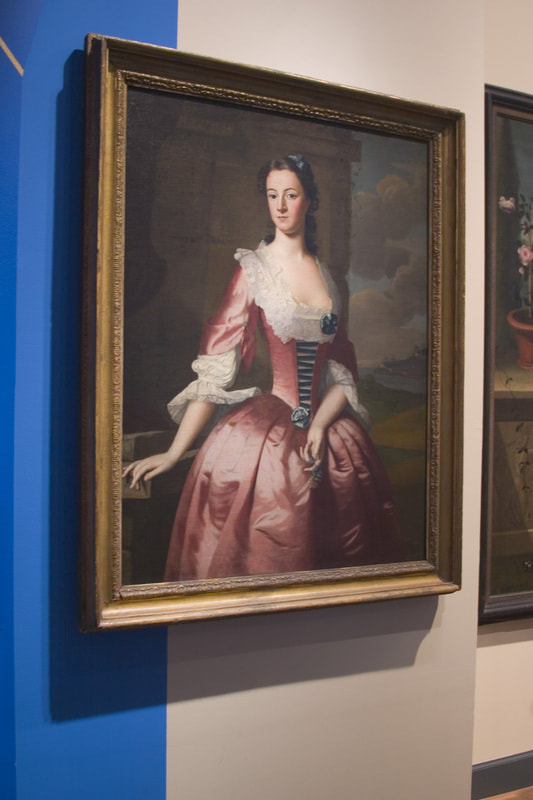
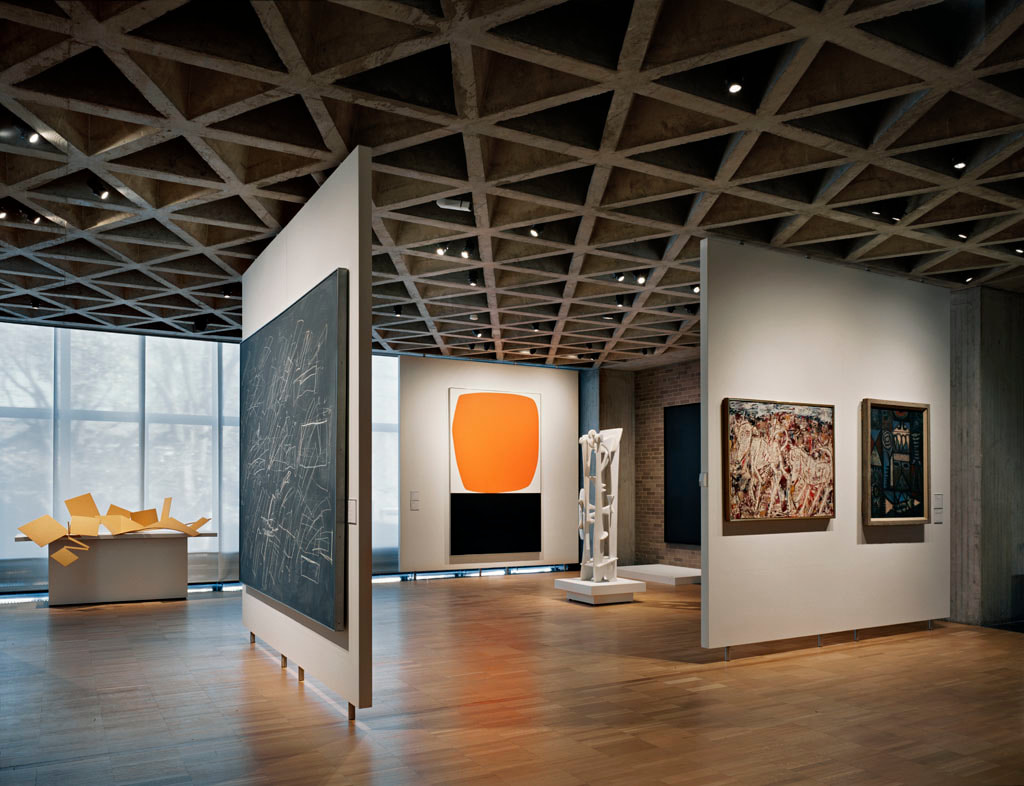
This is the second minor project I did. To do this I copied the picture of the lady and used the edit distort tool to fit the picture of the lady over every picture or painting in the gallery.
Before
|
|
After
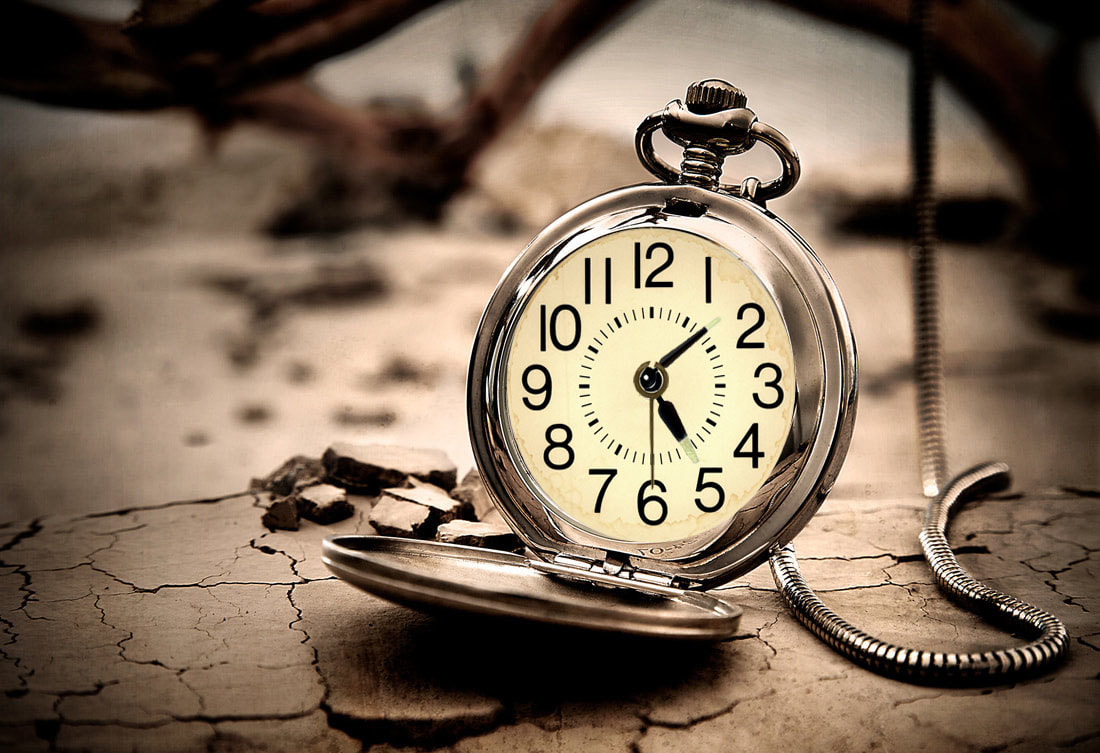
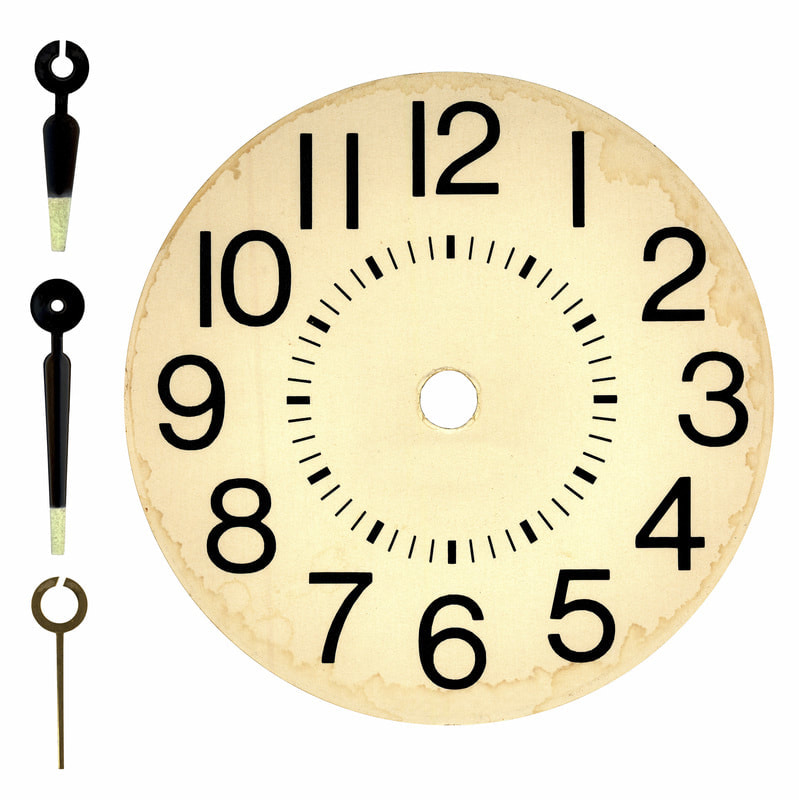
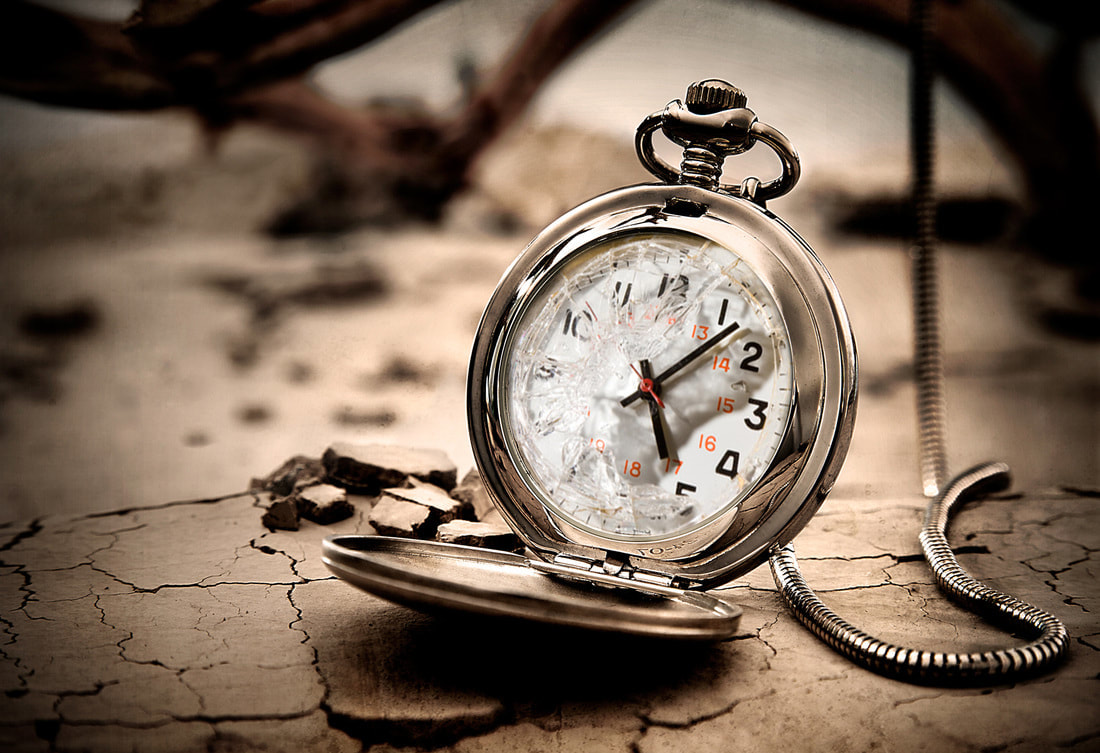
In this project I used the magnetic lasso tool to select the face and hands of the clock. I then put them onto the original face of the clock.
Before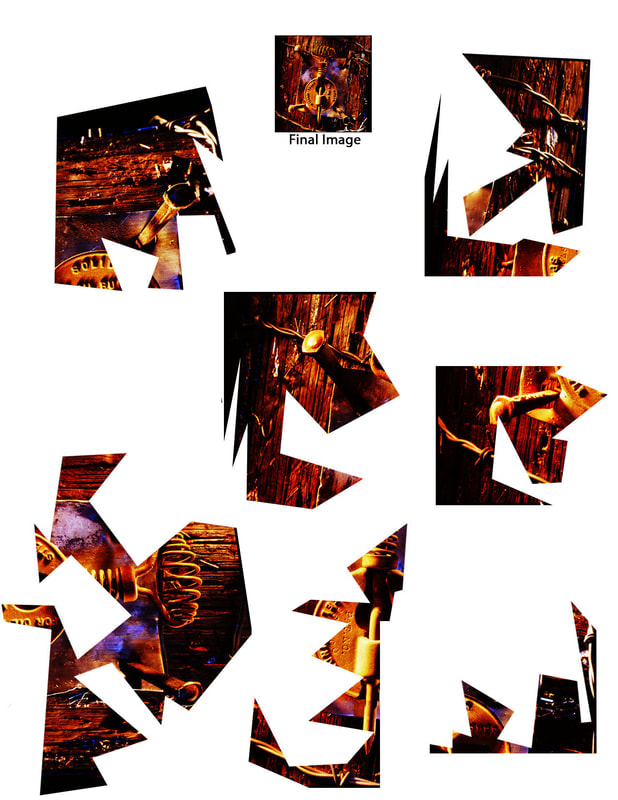
|
After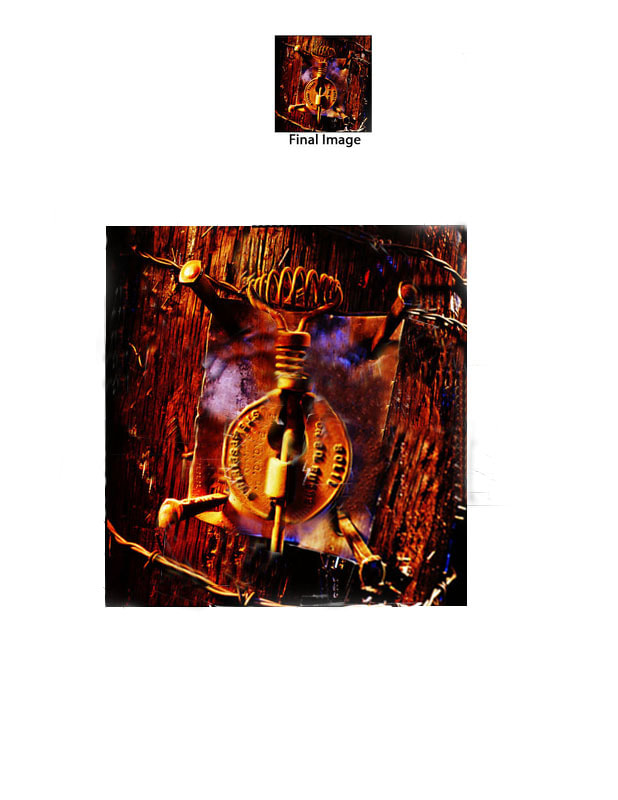
|
In this minor project I first used the magnetic lasso tool to select all the pieces of the puzzle. I selected the pieces and put the puzzle together. I the used the clone stamp tool to fix any visible lines and missing pieces.
Before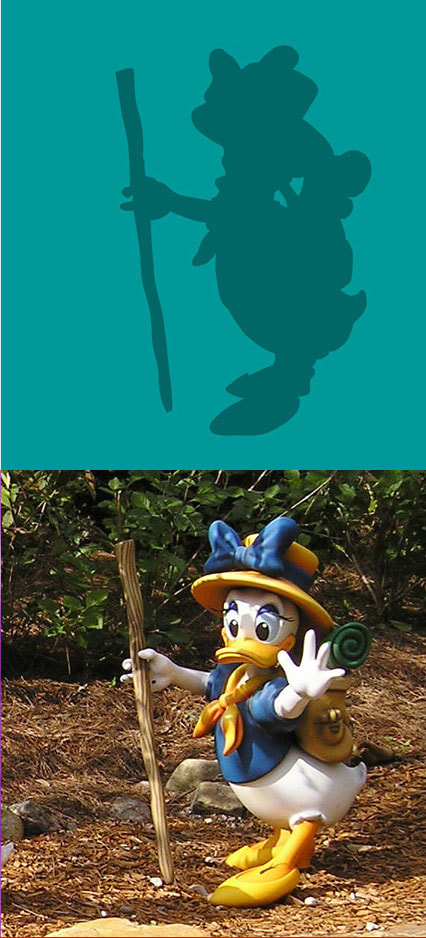
|
After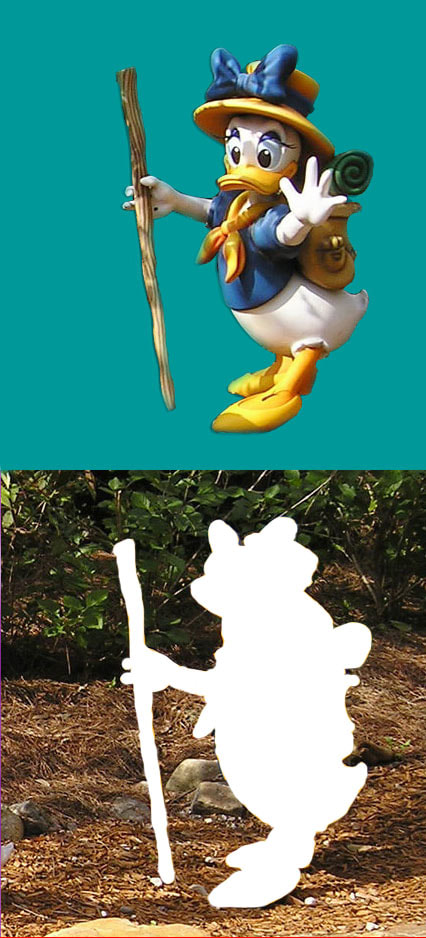
|
For this minor project I used the magnetic lasso tool to select Daisy Duck. I then selected her and dragged her up to line up with dark outline in the blue.
Before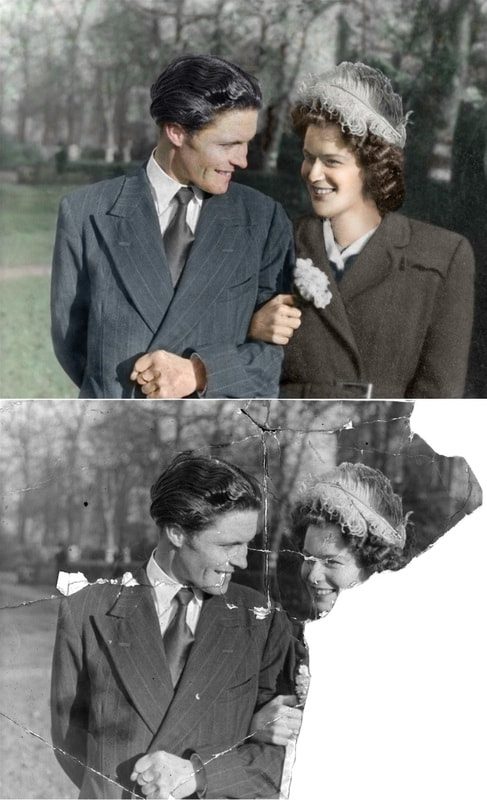
|
After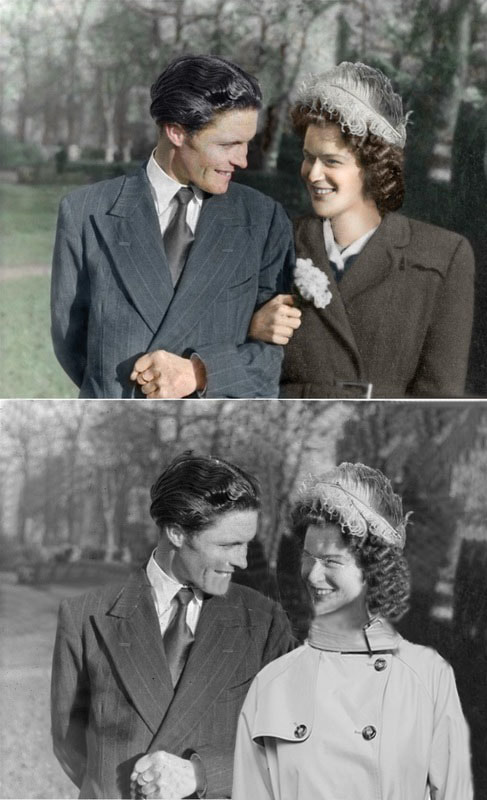
|
For this project I found a burberry coat online and used the magnetic lasso tool to select the coat and put it on the bottom section. I did the same as the coat for the chin and neck of the woman. To fix the cracks in the picture I used the clone stamp tool. To fix the background to the right of the woman I selected the background from the top and put it in the bottom section.
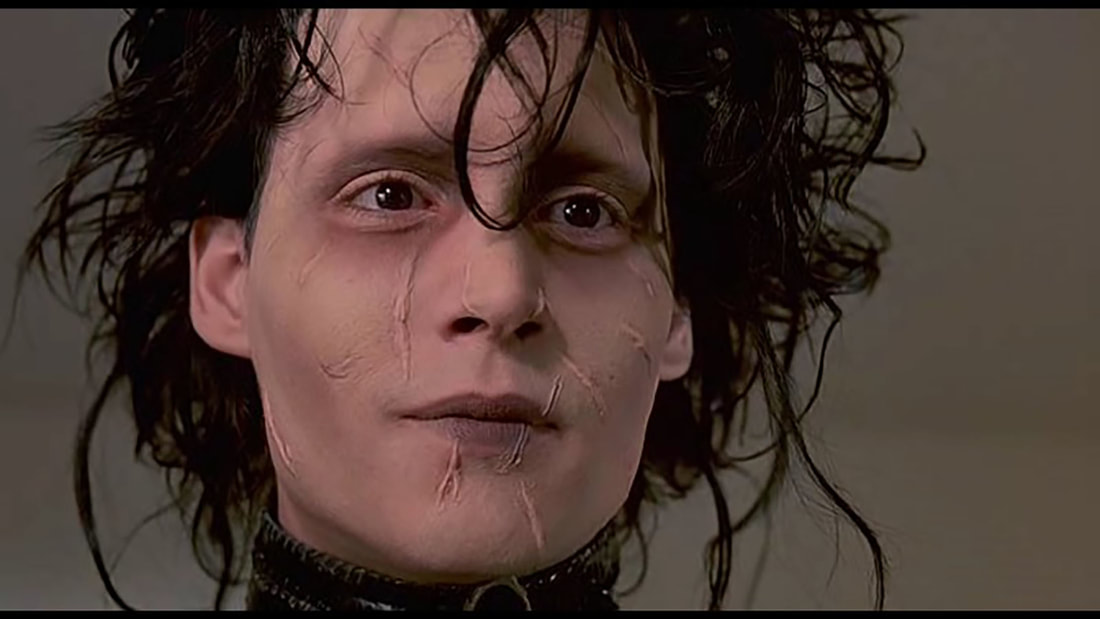
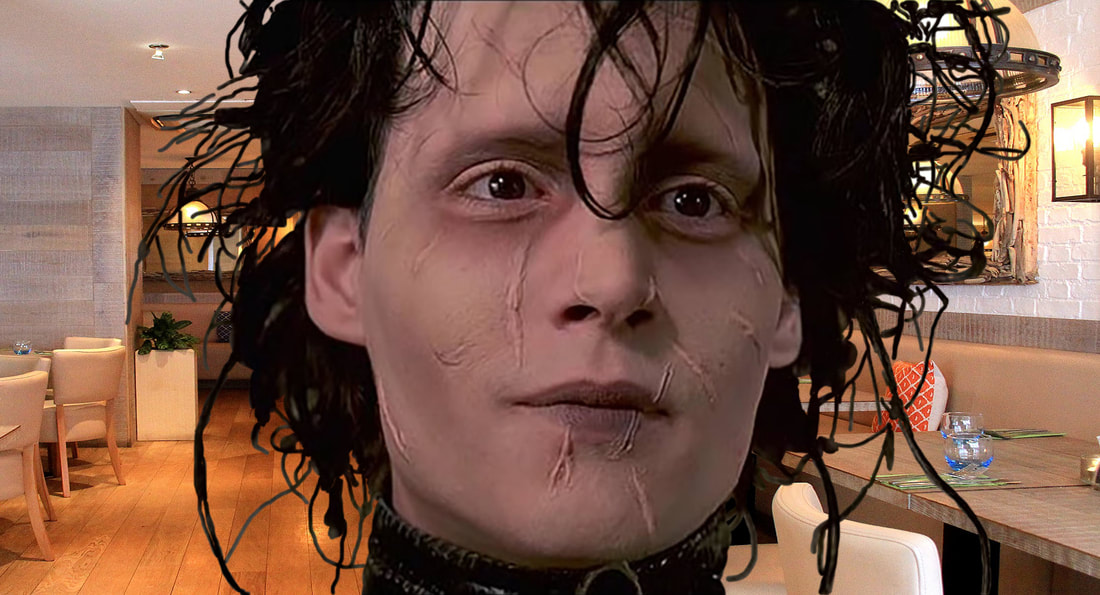
Before |
After |
|
|
For this project I used the quick mask tool to select Edward Scissor Hands' hair and face. I then copied it and pasted it onto a different background.
Quater 2
Before |
After |
|
|
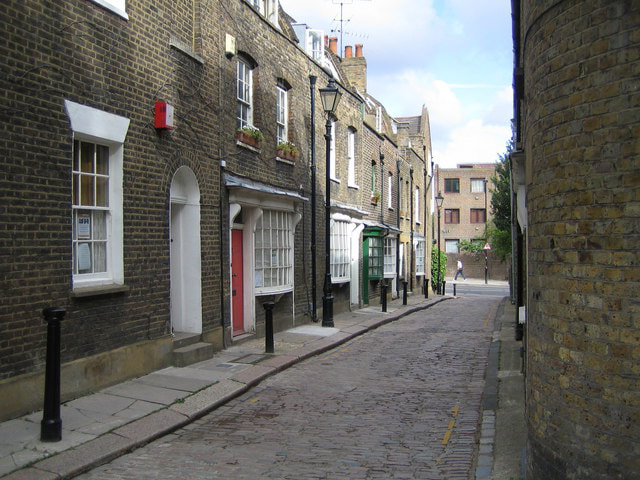
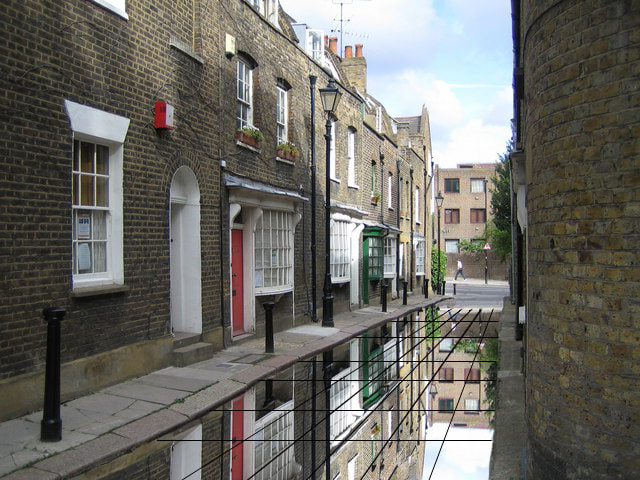
For this project I used the magnetic lasso tool to select the building. I then flipped the copy of the building on the vertical. Next I used the skew tool to skew the upside down buildings to match the sidewalk. For the lines I used the polygonal lasso and selected stroke to make them black. The last thing I did was erase any extra lines.
Before |
After |
|
|
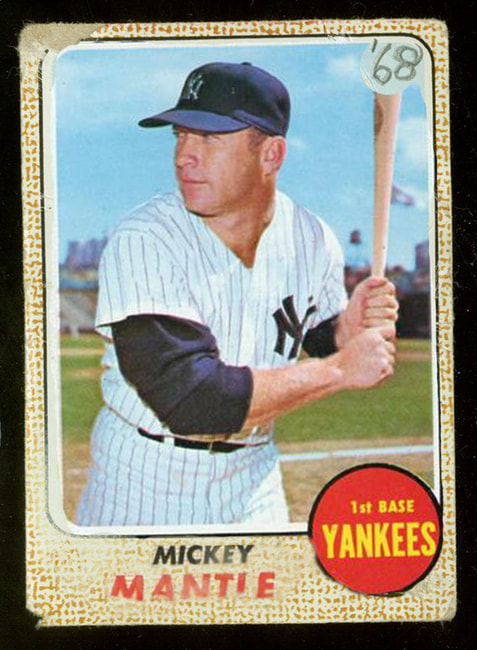
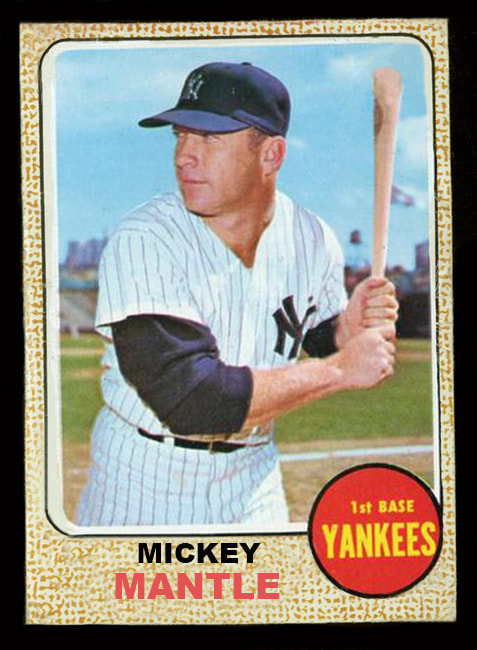
For this project I first used the clone stamp tool to make the corners square and fix any faded and ripped parts. I then selected the top right corner of the black outline and copied it. I then pasted it and rotated it to fit the top left black outline. I then pasted it a second time and rotated it to fit the bottom left black outline. For the words I used the text tool and found a font that is similar to the original font. I then clone stamped over the words and put the new text there. For the black outline on the red circle I selected parts of the circle and copied and pasted it over the faded parts. For the 68 in the corner I clone stamped over it and extended the bat.
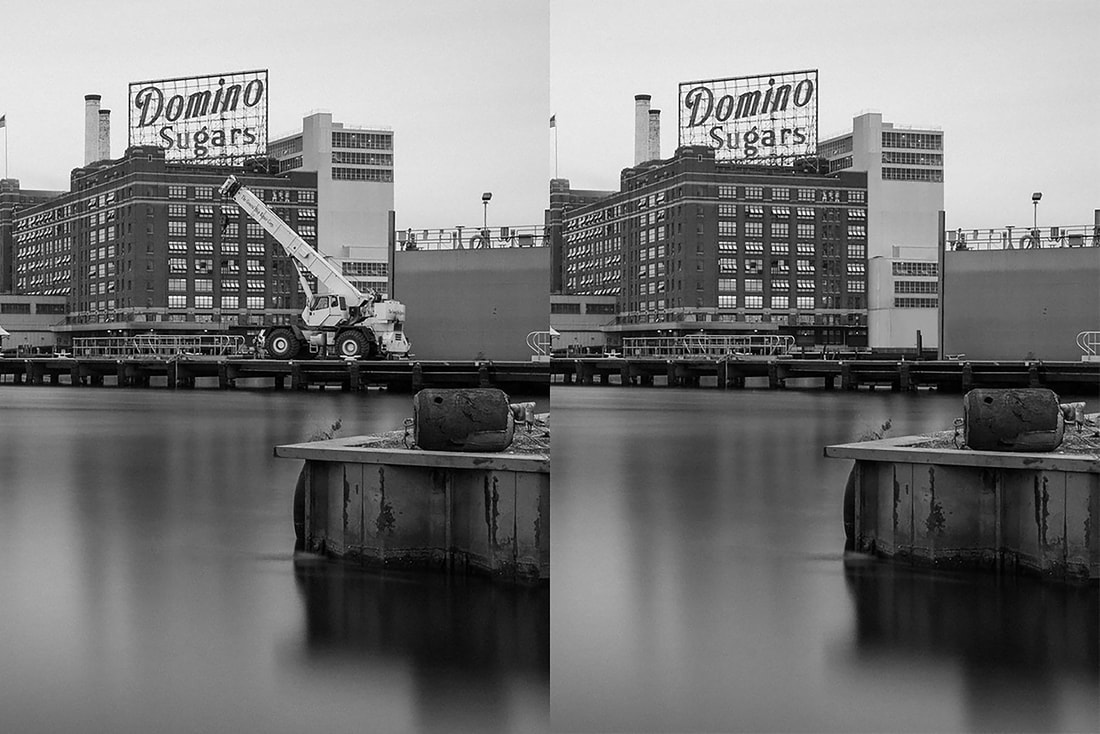
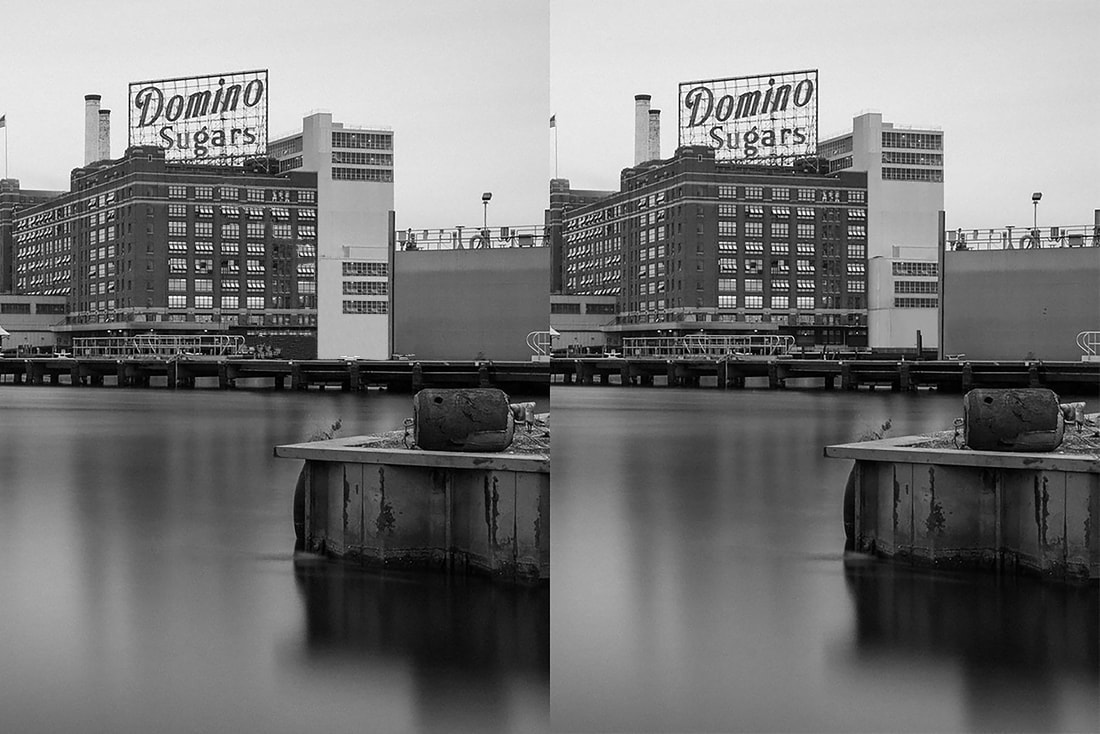
Before |
After |
|
|
For this project I used the clone stamp tool to clone stamp the crane out except for the windows. For the windows I used the polygonal lasso tool to select a window that is not blocked by the crane. I then copied and pasted the window onto where the windows should be.
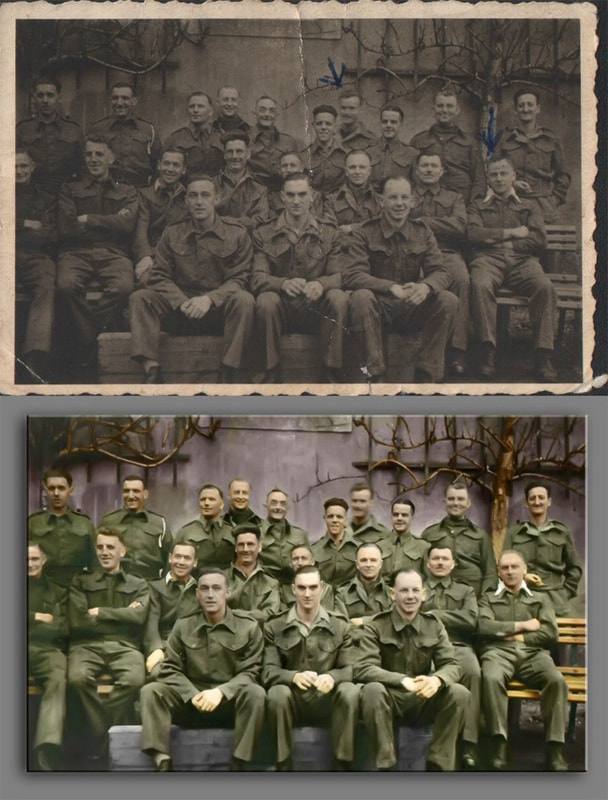
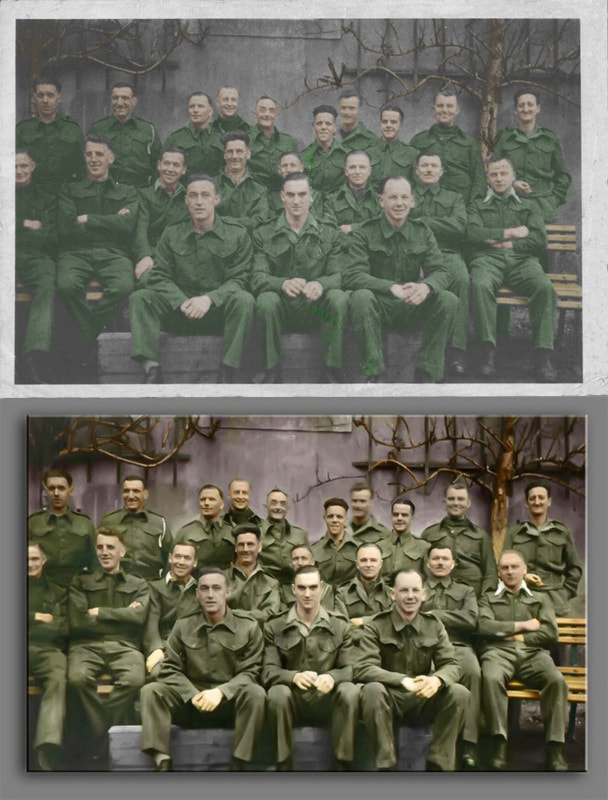
Before |
After |
|
|
For this project I first adjusted the levels and exposure of the picture. Then I created a new layer. I then used the paint brush tool with a green similar to the soldiers cloths. I then painted over all the soldiers cloths. Next I changed the blending mode from normal to overlay and turned down the opacity to about 30%. I did the same thing for the faces and bench and tree.
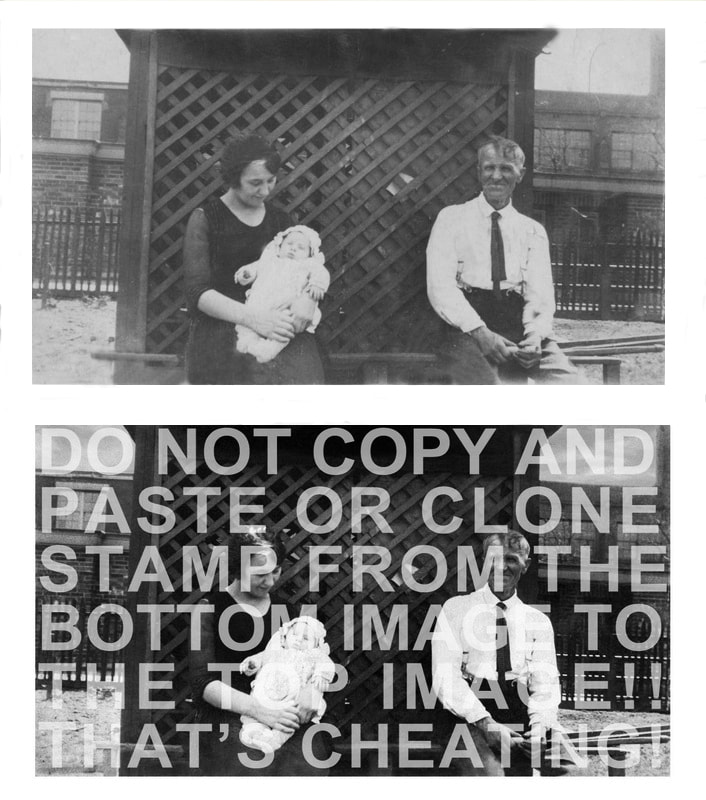
Before |
After |
|
|
For this project I first put a black and white filter on the to portion. I then selected around the top picture and used the paint brush tool to paint the white around the edge. Next I used the clone stamp tool to fix any creases or folds. The last thing I did was adjust the brightness and contrast.
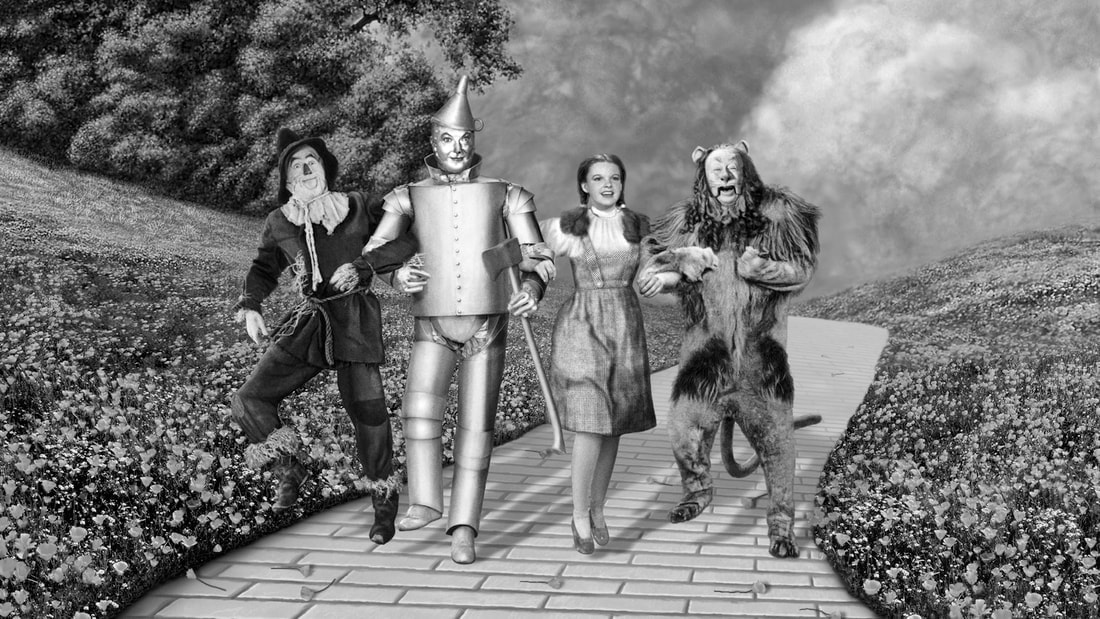
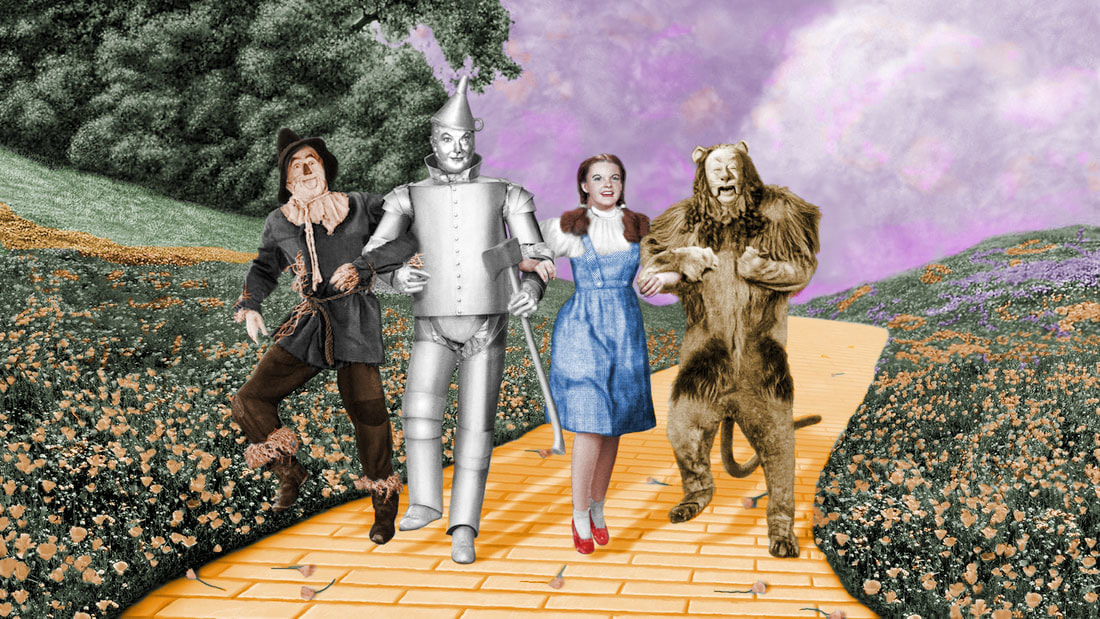
Before |
After |
|
|
For this project I used the paint brush tool to paint yellow over the yellow brick road. Next I changed the blending mode from normal to overlay. I then turned the opacity down and adjusted the brightness for the yellow. I did this for each color in the picture.
Before |
After |
|
|
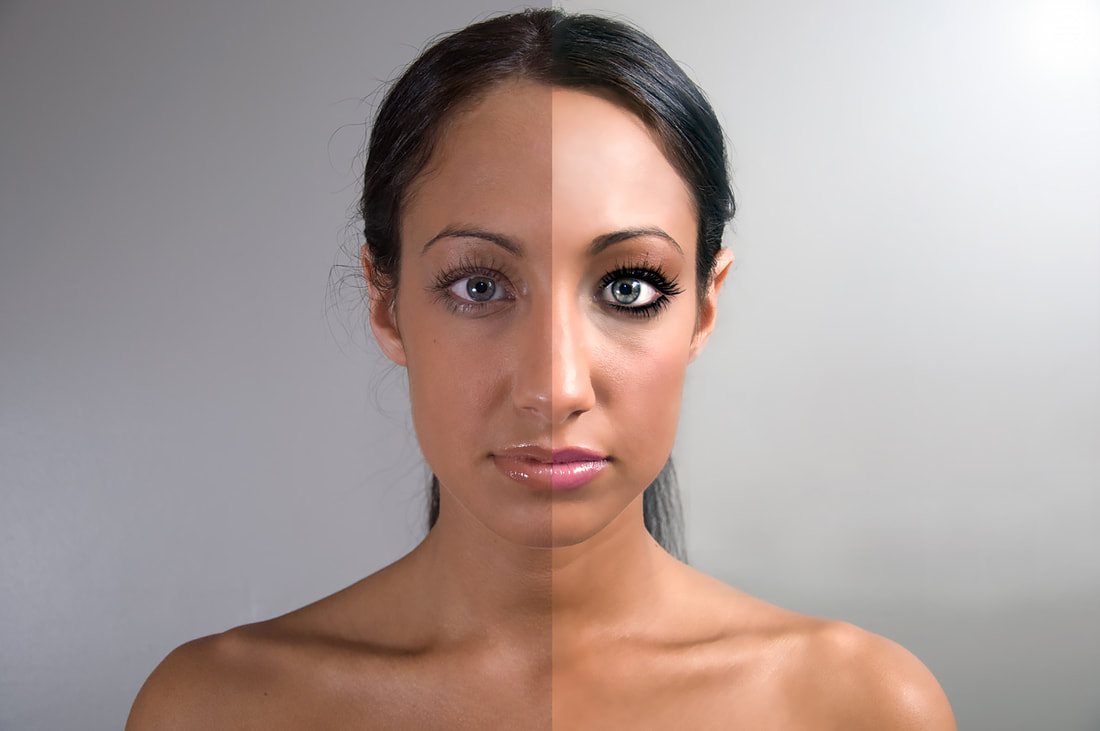
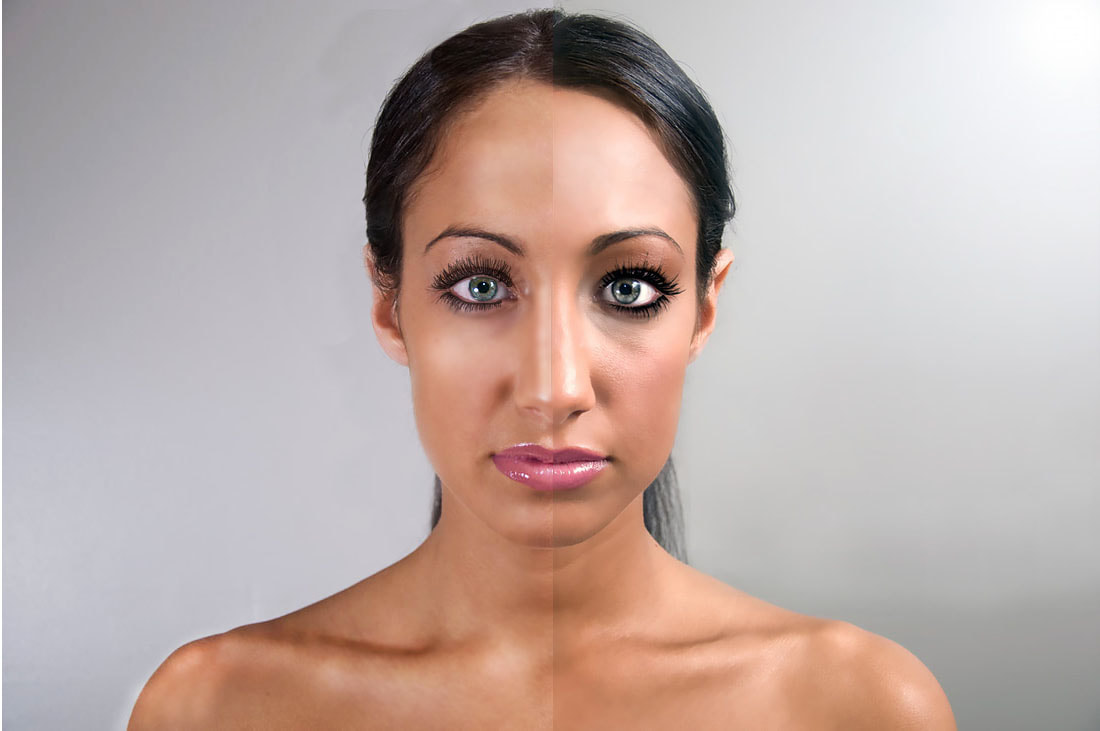
For this project we had to make the left side look like the right side. The first thing I did was clone stamp the hairs that were sticking out. Next I changed the brightness and contrast for her skin. I then made a new layer and chose a dark grey color. I painted over her eyebrow and adjusted the opacity of it. The next thing I did was paint on the eye lashes on a new layer with a black color. For the lips I selected the lips and adjusted the color balance to make the lips more pink. The next thing I did was take the blur tool and go ver her face and neck. For the eye I adjusted the brightness and contrast and changed the color balance. The last thing I did was use the dodge tool and burn tool to add highlights and contrast to specific parts of her face and neck.